Wednesday, April 30, 2014

2014 REVISED - How to Go From Winter's Slumber to Spring's Re-Awakening!

Look Ma...No Snow!
    Finally! After watching my RV slumber under it's cover for many months, during a Winter that seemed to go on forever, I am going to de-winterize, inspect and repair for the upcoming season! It's about time!!

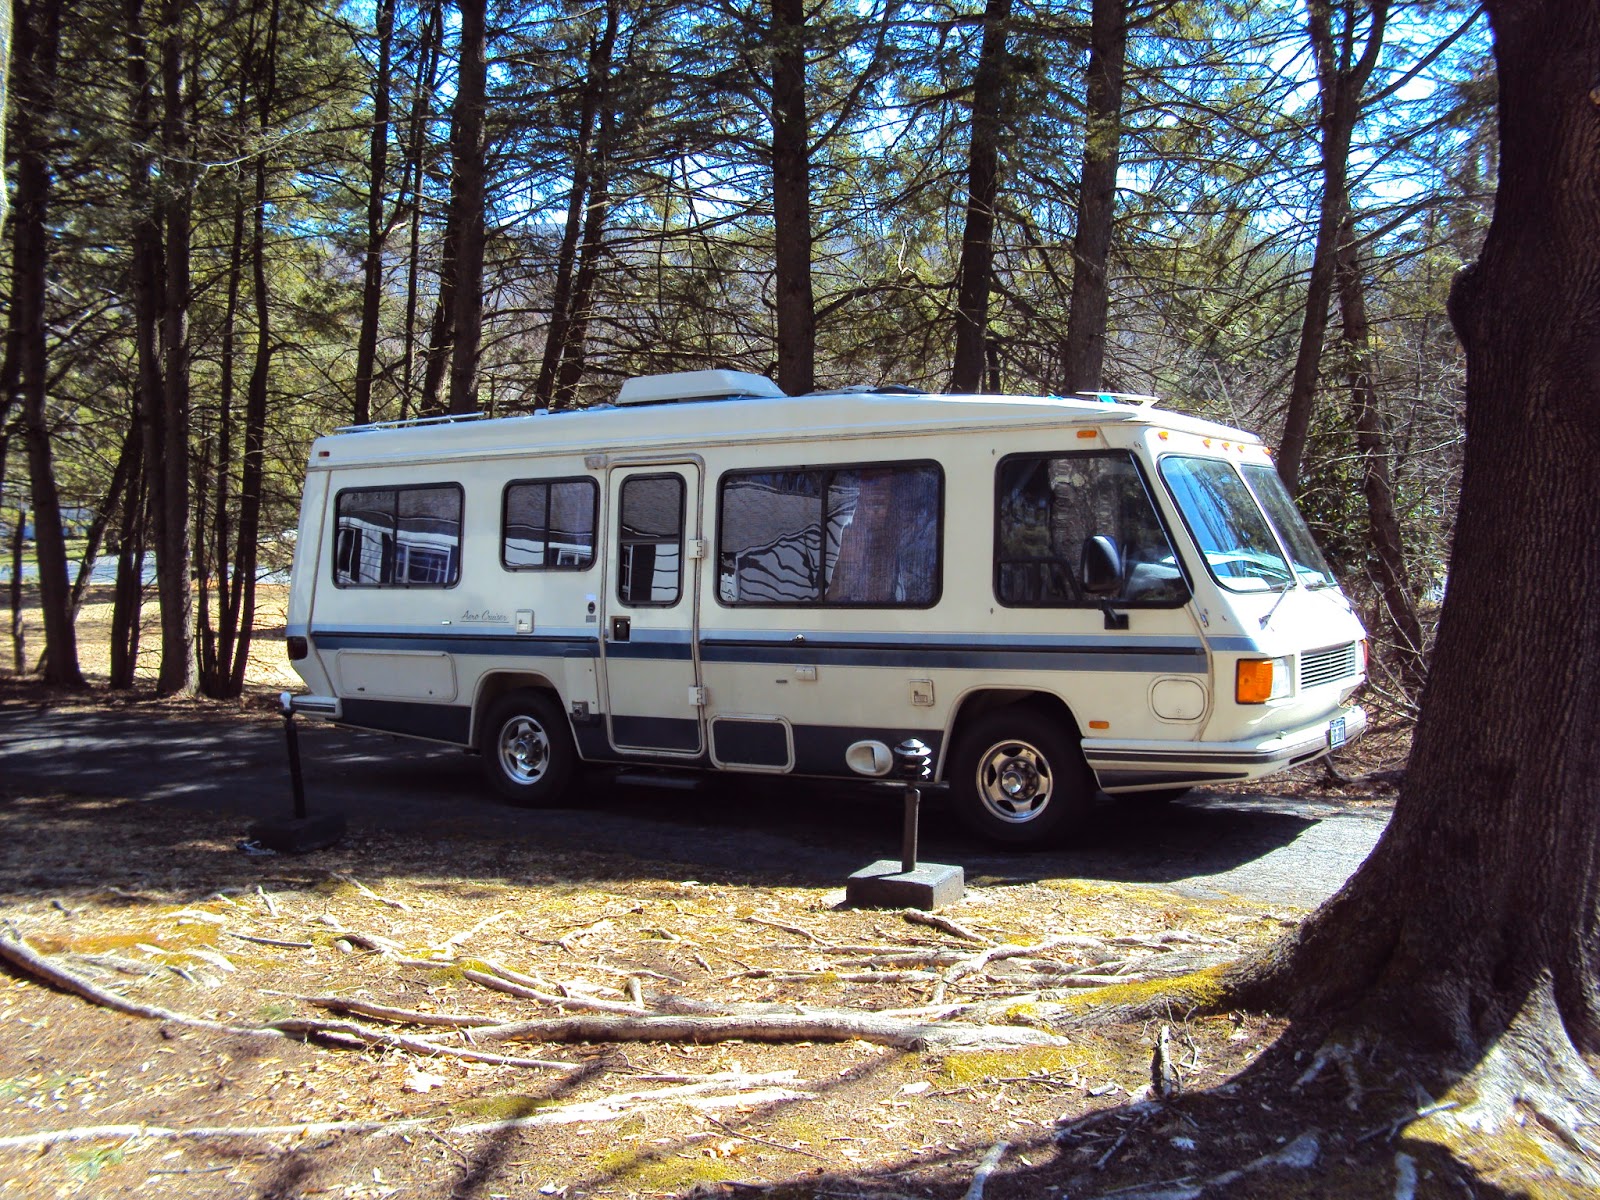
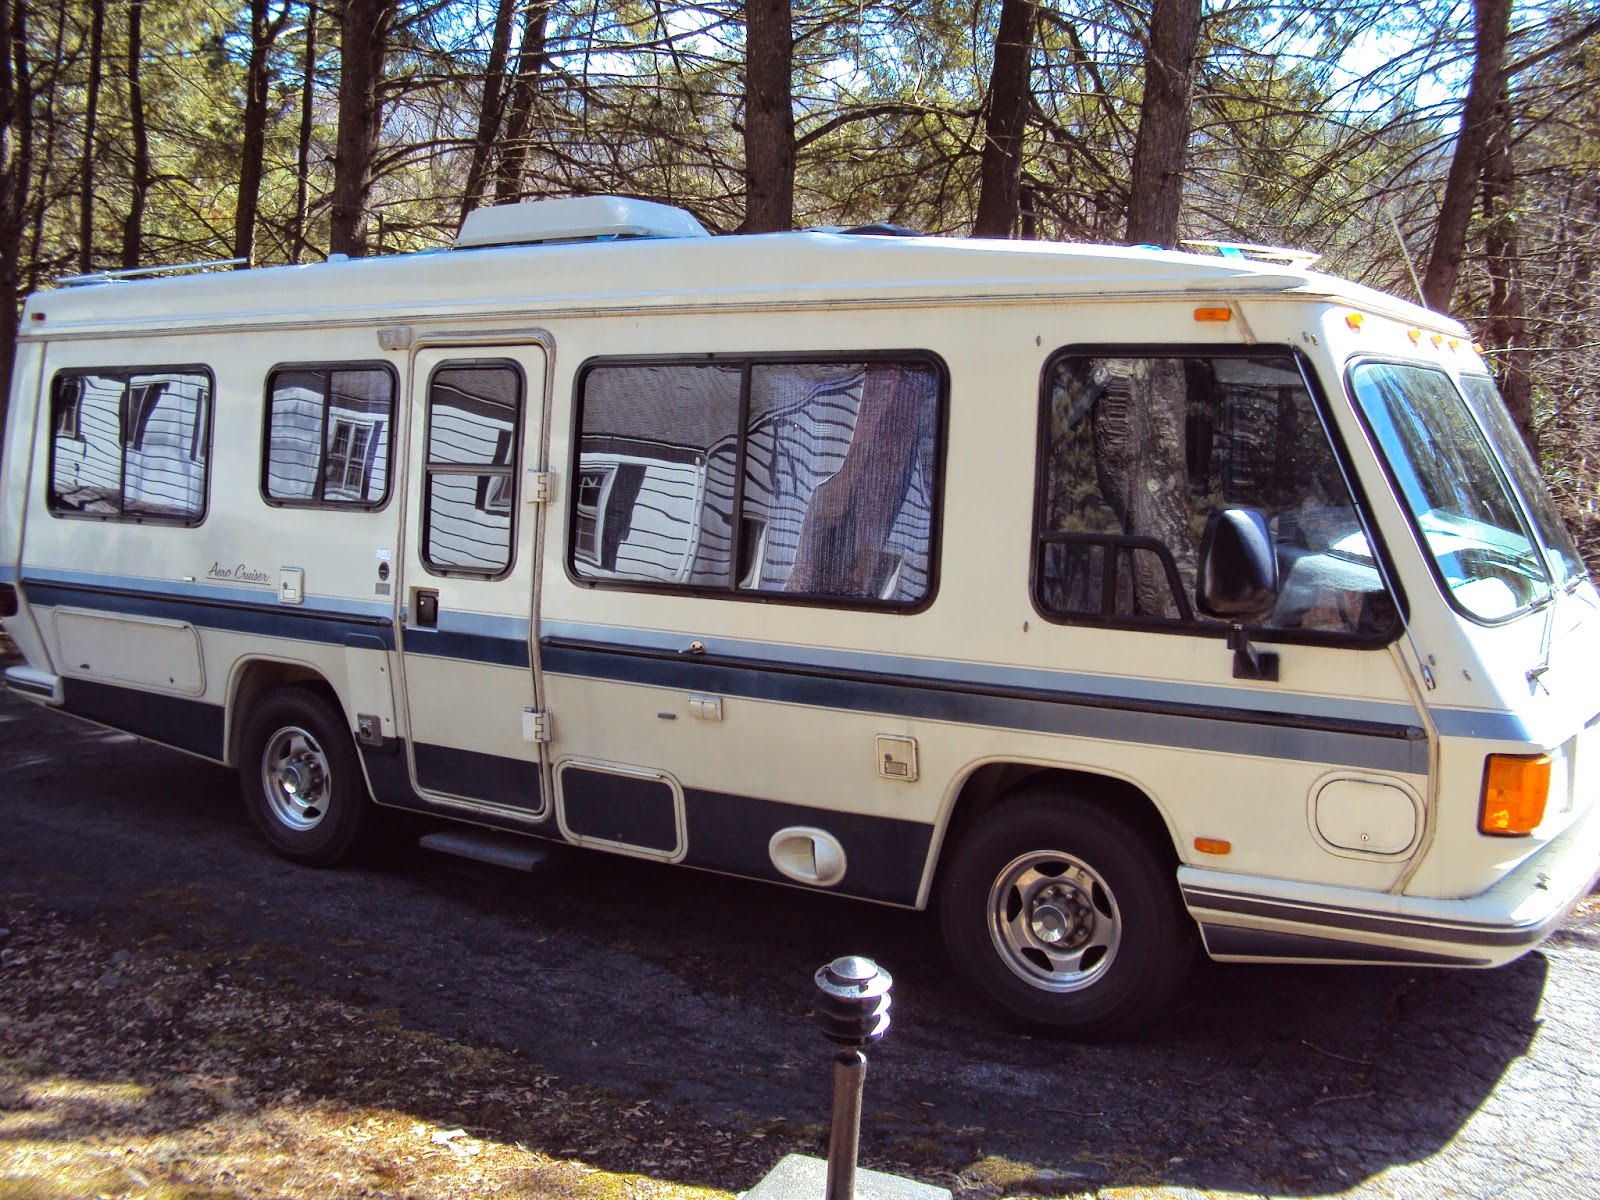
This weekend will begin the awakening of the sleeping beast (OK, "beast" is a bit of a misnomer...more like a small housecat) that is my RV. If you plan ahead and prepare, it should go smoothly and easily. Yes, I know NOTHING I do ever goes, smoothly and easily. Let's hope this Spring's the charmed season and we get everything done without undue incident.

Start with a list of basic tasks. This can be changed to suit your particular coach, but is a good guideline. Mine reads as follows:

OUTSIDE
Remove Cover Straps
Remove Cover (guess who forgot to undo the straps last year!)
Inspect Cover for Rips and Tears, Repair if Needed/Possible
Roll and Fold Cover and Store.
Inspect Outside
Inspect Underneath For Leaks, Puddles, Dry Rotted Hoses, Excessive Rust, Gas Pipe Joints,Frame, etc.
Inspect Tires and Inflate to proper pressure (Check Dates!)
Wash RV and Inspect for cracks, chips, glass breaks, leaks, etc.
Repair if needed.
Open Outside Engine Compartment, Check for Leaks and Nests.
Open Storage Compartments and Inspect (leaks, bugs, critters, etc.)
Clean Outside Refrigerator Compartment (Spiderwebs, Leaves, Nests, etc.)
Clean Outside Furnace Compartment (Spiderwebs, Leaves, Nests, etc.)
Clean Outside Water Heater Compartment (Spiderwebs, Leaves, Nests, etc.)
Replace Water Heater Drain Plug and/or Anode.
Clean Battery and Terminals if Needed. (Chassis, House and Generator)
Check Coach and Chassis Battery Water Level, Refill if needed. (Distilled Water ONLY!)

INSIDE
Open Door(s) Test Operation
Turn On Lights, Replace Any Bad Bulbs
Open Vents, Test Seal and Operation
Open Windows, Test Seals and Operation. Check Locking Mechanisms
Open Cabinets (Upper and Lower)
Check for Leaks, Roof, Doors, etc.
Check for Critters. (Bugs, Mammals, Gremlins, etc.)
Clean Interior (Carpets, Walls, Floors, Cabinets, Fridge, etc.)
Check LP/Propane/CO Detector Operation
Check Smoke Detector Battery and Operation
Check Monitor Panel, Tanks and Propane
Check Converter/Charger For 12 Volt Output
Check All Fuses and Breakers (12V and 120V)
Confirm Solar Charging System Voltage and Amperage
Check Bathroom Skylight for leaks and cracks.
Check and Tighten ALL screws and fasteners Everywhere!

MECHANICAL
Check Oil Level, Fill if Needed
Check Coolant Level, Fill if Needed
Check Brake Fluid Level, Fill if Needed
Check Power Steering Fluid Level, Fill if Needed
Check Transmission Fluid Level, Fill if Needed
Check Windshield Fluid Level, Fill if Needed
Check All Hoses and Tighten Clamps
Check Airbag Compressor for operation and leaks.
Check Air Bag System Pressure
Check Air bag System for Leaks

START-UP CHECKLIST
Check Fuel Levels
Check Battery Volts
Start Engine
Check for Oil Pressure Rise
Listen to Idle (Sound OK?)
Check Idle Speed RPM
Check for Battery Charging (Volts/Amps)
Check Temperature Gauge for Rise
Listen for "strange" noises. Clangs, Bonks, Whistles, Squeals, Chattering, Rattles, Clunks etc.
Shift Into Each Gear (Foot on Brake!!)
Switch On Dash Air Conditioner (Got Cold Air?)
Select Dash Heat and Defrost (Got Hot Air?)
Shutdown After Everything Warms Up to Operating Temperature
Re-Check Oil Level, Fill if Needed
Re-Check Transmission Fluid Level, Fill if Needed

GENERATOR CHECKLIST
Check Generator Compartment for Oil Leaks
Check generator and Wiring for Obvious Problems
Check Oil Level, Fill if Needed (Coolant too! If you have it)
Start Generator
Check for leaks
Check for Transfer Switch Operation
Run for 30 minutes (or so)
Check Voltage at Sockets without Load
Check Voltage at Sockets with Load
Shutdown Generator
Turn On Inverter
Check AC Power From Inverter

PROPANE SYSTEM
Turn On Gas at Main Tank Valve
Listen and Check for Leaks (Use handheld detector)
Check for leaks in Refrigerator, Furnace and Water heater Compartments
Check for leaks Inside (Stove, Water Heater, Furnace, Refrigerator)
Light 1 Burner, Check for Blue Flame and Even Burn
Turn Off
Check Other Burners.
Turn Off Stove Valves
Set Thermostat to Heat
Confirm Furnace Ignition
Confirm Heater Vent Airflow and Temperature
Shut Off Thermostat
Confirm No Leaks from Valves in the OFF Position

APPLIANCE CHECKS (On Both Shore Power AND Generator/Inverter)
Attach Shore Power (or use Generator)
Turn on Air Conditioner, Wait for it to engage
Check for Cool Air
Check for Heat Strip Operation (if installed)
Shutdown Air Conditioner
Inspect Microwave
Set Clock
Run for 1 Minute (heat something up!)
Check Coffee Maker Operation (VERY Important!)
Check Fridge DC Control Panel Operation
Turn On Refrigerator (on AC Power)
Confirm Refrigerator Heating Element is Warming Boiler Outside)
Switch Refrigerator to Propane (LP Gas)
Confirm Flame Ignition (By Sound AND Visually Outside)
Switch Back to Electric (or AUTO)
Check Refrigerator Door Seals and Lock(s)
Turn On Entertainment System
Check Inputs (Antenna/VCR/DVD/Satellite/VGA)
Check Sound
Raise/Lower TV/Satellite Antenna
Turn Everything Off.

WATER SYSTEM (without Sanitize) 
Re-Connect Water Pump to Tank
Set Valves to Tank Fill
Re-Insert Water Heater Drain Plug
Close Low Point Hot and Cold Water Drains
Check All Fittings
Close Faucets
Partially Fill Water Tank (Hose or Connect City Water)
Set Valves To Operating Position
Pressurize System (Pump and City Water, One at a time)
Check For Leaks
Open Each Faucet Until It Runs (to Remove Antifreeze and Air)
Check Toilet Main Drain. (Holding Antifreeze?)
Check Flush Fill and Drain
Fill Fresh Water Tank (and/or Use City Water)
Check For Leaks (Look in All Cabinets! Under Coach as Well!)
Open Faucets and Run Water until Clear
Check For Leaks AGAIN!!
Turn On Water Heater (Propane)
Check for Ignition
Confirm Hot Water and Flow
Check For Leaks (Inside Hot Side Plumbing AND Outside Water Heater Compartment)
Switch Water Heater to Electric
Confirm Hot Water and Flow
Shut Everything Down

LAST
Close All Windows
Shut Off All Appliances
Shut Down Propane Gas Flow
Turn Off Lights
Close and lock Doors.

While this list is geared toward my coach, most of it will likely apply to yours. Hopefully, it will start you off  safely and with some peace of mind this season.


Feel free to send me items to add or ask questions!

Be Seeing You....Down The Road

Rich "The Wanderman"
http://www.thewanderman.com


Wednesday, April 23, 2014

Mold Patrol - Clean-up RV Fridge

    Well, I began my RV cleaning rituals this past weekend, vacuuming, cleaning surfaces and the like. Mostly I begin with the inside and work my way outside as the weather warms up. I had been inside the RV, checking on its condition all through the winter so I was confident everything was A-OK. Boy was I wrong. Two weeks ago I checked the fridge, everything was fine and dandy. This past Saturday it had mold on several shelves and my jar of olives had popped its top, spewing nastiness down the fridge door. Yup, the mold probably grew from that small "explosion." I figured it was due to the odd weather. It was in the low 40s one day, then high 70s the next. I do have one of the plastic refrigerator hold-open gadgets, so the fridge did have airflow. I guess not enough! Of course, cleaning it right away was in the cards. Not what I had planned, but as I always say, "Murphy was an optimist!"


Mold is gross. Mold plus dried brine with olive bits is nastier! Thankfully the shelves come apart relatively easily and can be cleaned outside. The door ... not so much. I really don't like touching nasty messes, and having rubber gloves would have been nice. Well, next time I'll have a set! I did have some antibacterial soap and some spray cleaner with hydrogen peroxide in it, so the mold is dead. I hope. Some of the dried-on bits were hard to get off, but I let them soak for a bit in the sun and they scrubbed off with a folded paper towel. Eventually all the shelves were clean. Back to the fridge door.

This was a bit more difficult as I couldn't use a hose to rinse off the cleaners and the nasty stuff. Plus, if I used a decent amount of cleaning solution, it would drip down the door onto the floor creating a puddle of indeterminate mix. I settled for a lot of paper towels folded and placed under the door. I sprayed down the door and tried to clean as much as possible before it dripped, but a lot of it had to soak before it would come off. I have to re-iterate ... this is NO fun!!

Well, I finally managed to get into all the nooks and crannies where I could see mold and/or other contaminants. Some places were so small I had to use a screwdriver wrapped in paper towel to get in and clean out the mess. After it was done I checked everything again to make sure there was no mold or other grossness left. If it's clean, it shouldn't grow back, hopefully.


There are cleaners on the market that purport to kill mold and clean it up easily. I didn't have any. Besides, the last time this happened, the mold didn't come back for over a year and a half. I'd call that a success!

Be Seeing You...Down The Road,

Rich "The Wanderman"
www.thewanderman.com

Wednesday, April 16, 2014

Fix Those Squeaky RV Extending Stairs


    SCREEECH! Don't you hate it when your automatic extending stairs squeal at you every time they move? Me too! Especially after a long cold winter, they can get rather cranky. Just like me! After a lot of experimentation, I found the perfect stuff to lubricate the step assembly with. Drum roll please... White Lithium grease! This is some tenaciously sticky lubricant. It's good through all kinds of temperature ranges and, so far, seems to stick through all kinds of wet weather. I first lubricated the stairs 4 years ago when I first bought my RV and haven't had a squeak since today. I'd say that's a pretty good track record.

Motor/Gearbox Looking Upwards
I bought the White Lithium grease in a handy aerosol (spray can) package that came with a tiny plastic straw that inserts into the nozzle to get into very tight places. Most automatically extending stairs require periodic lubrication. There are a LOT of hing points that could bind up. It's a pretty complicated system. When I first picked up my RV, it was seized up and the motor was fried. Probably wasn't lubricated properly and the motor worked overtime to get them to move and then overheated and quit working. The best solution is simply to maintain the system and that's mostly cleaning and lubrication. There is also a light bulb down there that can burn out. I replaced mine with an LED bulb that should last a LONG time.

How do you lubricate this contraption? Start with the steps extended. And look for each and every point that moves. It should be fairly obvious where most of these hinge points are, but some of them are well hidden. Up and under the stairs. Be CAREFUL you do not cycle the stairs when your hand and arm are inside where they fold. This will HURT a great deal. Believe me the combination of electric motor and reduction gears create a huge amount of force. I wouldn't be surprised if you could lose a finger this way! Be Careful!!

So, back to lubricating every point on the stairs that moves, swivels or rubs against another piece. Don't use a massive amount, just enough to get into the joint. Once you've done that... you didn't forget the ones up under the steps near the motor did you? I did... kept squeaking... figured it out! Now run the stairs in and out a few times. Then re-lube. After a couple of times, you should have smoothly operating steps. If not, listen closely, figure out where the noise is actually coming from and re-lube that part. Also, a good time to check for anything bent or smashed. I've seen people lock their stairs in the out position and bash them against curbs. This really won't help them function at all!

Treat your steps well and they will work for a LONG time. Replacement motors and parts are available, so if something is really broken it can be fixed. I had to replace the motor/gearbox assembly when I first bought my RV. I like the stairs ... besides, everyone who sees them work (who isn't exposed to RVs all the time) thinks they're ... "COOL." I do, too.

Be Seeing You...Down The Road,

Rich "The Wanderman"
www.thewanderman.com


Wednesday, April 9, 2014

Surprise! - It's Spring!

    I had it all scheduled out. Removing the cover, checking the systems, prepping the interior and exterior. I was ready. Then Murphy stepped in. Seems that over the winter, the massive tree next to the RV had been hit by lightning and was in pretty bad shape besides. I was told to move my RV...NOW! So they could cut down the already falling branches and begin to remove the tree piece by piece.

So....mad scramble to get the cover off and get the RV to the relative safety of the other end of the driveway. I checked the battery fluids, the oil and coolant. Held my breath and turned the key. Started right up. Now, of course, I didn't remove all the interior thermal window covers...why should I? I was only driving 50 feet or so, with a little bit of a tight turn, but I could see out of the windshield and a couple of front-side windows. Worked for the moment. We were safe. Tree got sawed, chopped and re-configured. Not completely, but enough that it looked safe enough to come back. Then I realized it wasn't going to be as easy to back down the driveway without being able to see out the windows!

 Have I mentioned I'd been sick with the flu for the past week and a half? A pretty good recipe for disaster. I had a couple of people outside and the backup camera works quite well. It was cold. I didn't want to be outside any more. Off we went. SLOWLY, backing down the driveway and making the tight turn back to where I was. So, do I get to count this as my "first trip of the season?" I hope not! Well now I guess I have to begin the actual "de-winterization" process. That let's me get my hands (and eyes) on every little piece of the RV and check the systems thoroughly. If the weather is cooperative, a full cleaning is in order.

Should be "fun!" Depending on what your definition of "fun" is.

I am so ready to be on my way, down the road, this season. Lot's of great trips planned to some very cool places. I'll get to fully test out some of the more recent gizmos and gadgets purchased and make sure my Solar charging system is performing as it should. if you see my on the road, say "hello!"

Be Seeing You...Down the Road,

Rich "The Wanderman"
www.thewanderman.com


Wednesday, April 2, 2014

Even The Simple Things - Cooking Timer

    When I'm out and about in my RV, I tend to lose track of time. I mean, it's so relaxing. Just a quick step to a cool drink, comfortable seating, maybe even a nap. Time seems to flow like molasses. But in a good way! Of course, when the trip is done, it seems like it was but an eye-blink. When you're cooking it isn't such a great idea to lose track of time. You can produce some especially inedible foodstuffs that way. Burnt chunks that will only find their way into the trash. Kind of a waste really. I have a solution! Buy a small minute timer.


For years I've used a simple 3 minute egg-style timer that would suffice for most jobs. Then I used the timer on the front of my convection/microwave. These all worked well. But I wanted something with more versatility. So I could use it for other jobs. Say, like using a two part epoxy for a repair. You get the picture. I had a nice timer from my flight bag. (Back in the day, you would actually TIME your turns when flying in bad weather [IFR]) I just couldn't bring myself to take it out of my flight bag. I mean it's lived in there for YEARS. What I really wanted was an inexpensive solution that could live in my RV utensil drawer happily. During my twice yearly visit to IKEA I stumbled across a very inexpensive ($2.99) minute time. It runs on 1 AAA battery and has a LOUD chirp to let me know it's finished counting down.


It's incredibly simple to use. Just three buttons. MIN(utes), SEC(onds) and START/STOP. It works exactly like you'd expect. Tap the minutes and seconds buttons to set a time you'd like to countdown, then tap start. There it goes! If you want to reset it, press both the minute and seconds buttons simultaneously. I love when things actually work just like they're supposed to. No extra frills on this gizmo. It does what it has to and I'm happy with that.  As a side bonus, it matches my ivory interior color. I did add a piece of stick on Velcro to the back to let me adhere it to the wall (or ceiling!) That let's me keep it out of the way and be able to see it easily. I thought about adding a small strong magnet as well, but there really aren't that many places that it would stick to inside my RV.

Now I have a simple, inexpensive timer that does just that...time! Baking will be much easier now! Not that I bake all that much, but you never know.

Be Seeing You...Down The Road,

Rich "The Wanderman"
www.thewanderman.com