|
| Safely Ensconced |
After envying all the folks who DON'T live in the Northeastern U.S. for many years, I finally found some places that you can do
dispersed camping. "What's that," you may ask? Simple, on many Federal and State owned lands you can drive (or tow) your RV into the forest or desert, go a particular distance off the "road" and camp. For free, or with a low priced yearly permit. Sometimes you have to move in a few days, sometimes longer. You get off the beaten path and aren't usually surrounded by other folks camping. It is tranquil, unhurried and beautiful. It's EXACTLY the reason I got into RV'ing and bought my particular RV. And the main reason for making all the modifications to let me be 100% self sufficient. The one I found is in Vermont and is easily accessible from several major highways. There are some downsides, but the positives certainly outweigh the negatives!
 |
| Now That's A View Out A Window! |
The
Green Mountain National Forest is , "
416,000 acres spread throughout southwestern and southern Vermont, and the Finger Lakes region of New York State" at least according to their website! When I first stumbled upon the forest web pages, I could help notice that they allowed limited dispersed camping. That's camping without an actual campground. Just pull off the road in (sometimes) designated spots and camp. Sometimes deep in the forest, sometimes next to water, sometimes next to a dirt mound. It's mostly pot luck so I made sure to get there early on the first day, so I could explore a bit before choosing a site. That turned out to be a GOOD thing as the site I had pre-selected using Google Maps was chock full of tent campers and a few small trailers. We drove MANY miles on gravel and dirt roads (thankfully in decent condition, though if your RV has low hanging bits I wouldn't try it!) looking at various locations. As luck (and Murphy) would have it, the second site we saw when we first entered the park was the nicest! So after a full circle we parked near a storm/water feed conduit along a big, rock strewn stream bed and a beautiful bit of forest.
 |
| Easy Set Up And Perfect Grilling! |
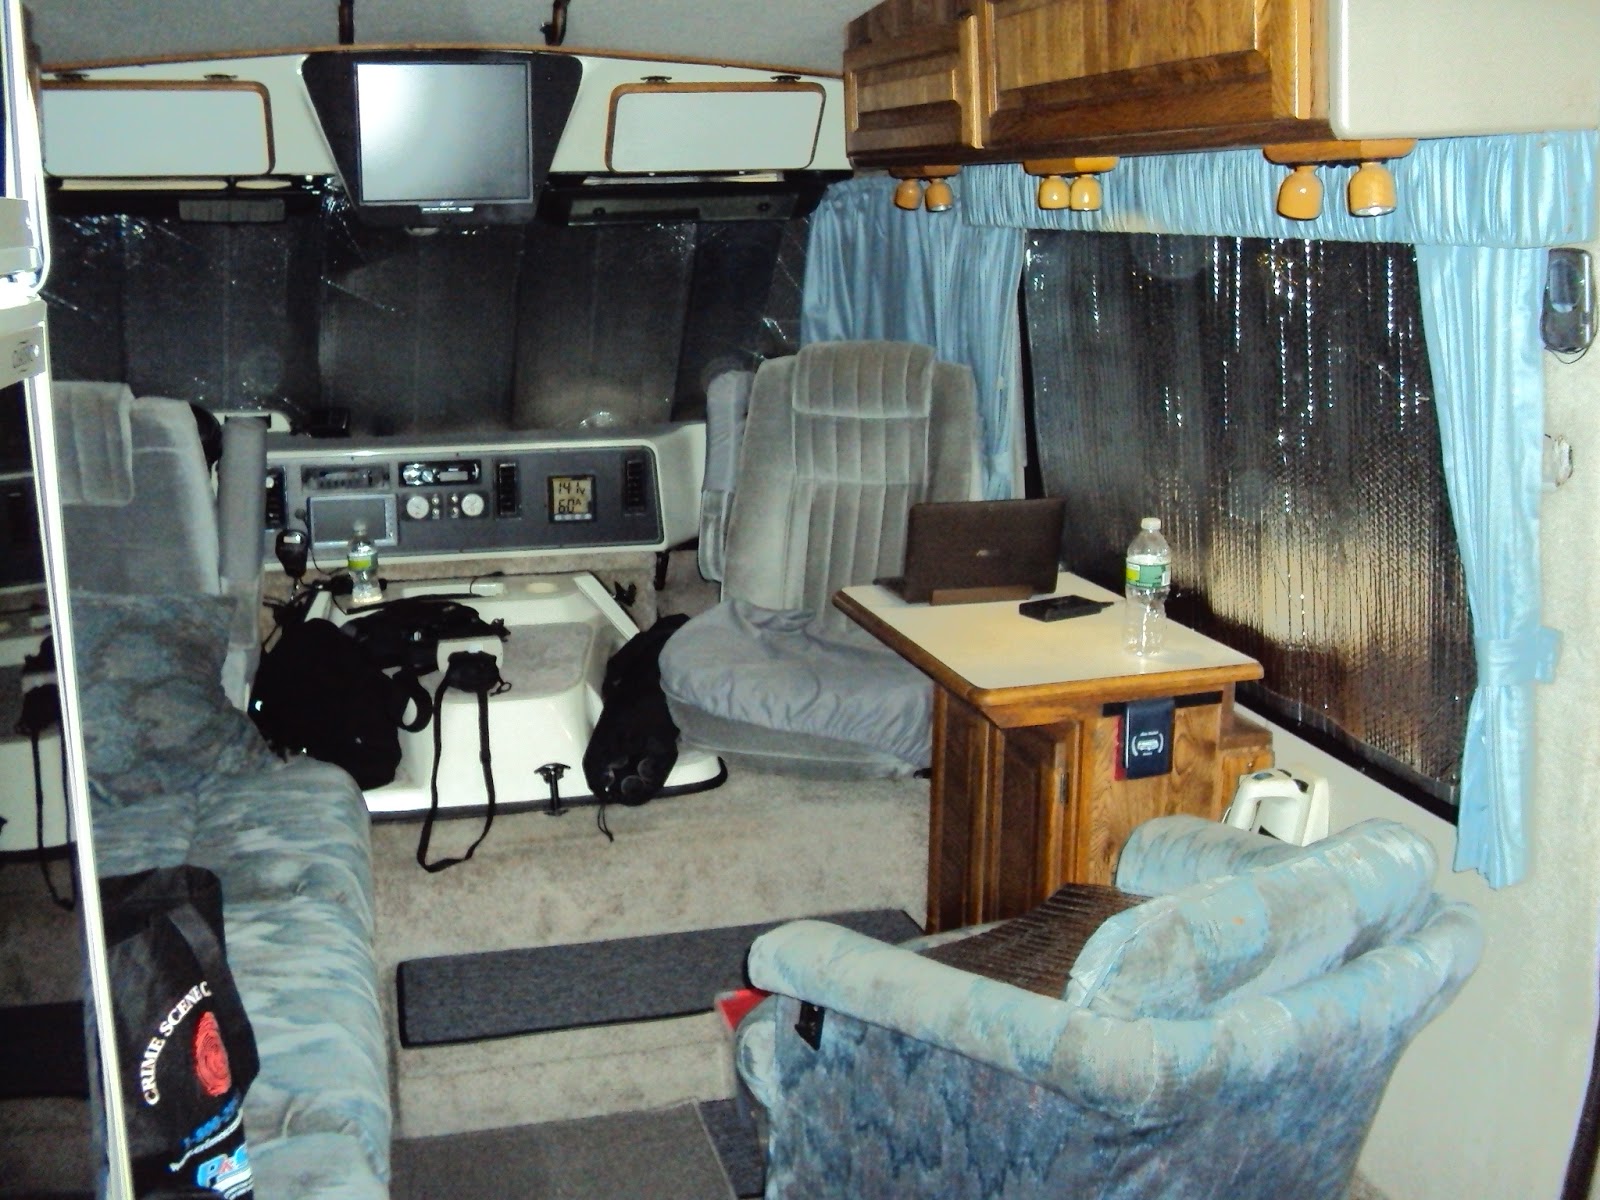
After setting up camp, which is really just parking to maximize comfort and solar panel efficiency, opening the windows and vents and pulling the odd window blind, I opened the storage bay and set up my roll-up folding table and
portable suitcase gas grill. Time for Lunch! In this idyllic setting I grilled up some marinated BBQ pork chops, made some potato salad and some fresh grilled tortillas. There was also some fantastic chicken and beef Empanadas that we brought along. Simple, and delicious.

After lunch, a bit of a nap. Yes, it was an early AND a long morning driving all those dirt roads. GPS didn't always have the Forestry Service roads listed, so there were some interesting moments of being "off the grid" so to speak. With a beautiful breeze and perfect temperatures...a nap was in order! After that, off exploring the pipeline and surrounding terrain. I've gotta admit, a wooden water pipeline almost 20ft in diameter is pretty cool! I'd never seen one before. Looks like it's used to divert flood waters and.or feed surrounding towns. Whatever it is, it was BIG! It snaked for a REALLY long distance and off into the forest. No idea how long it was. Definitely a cool thing to see in person.

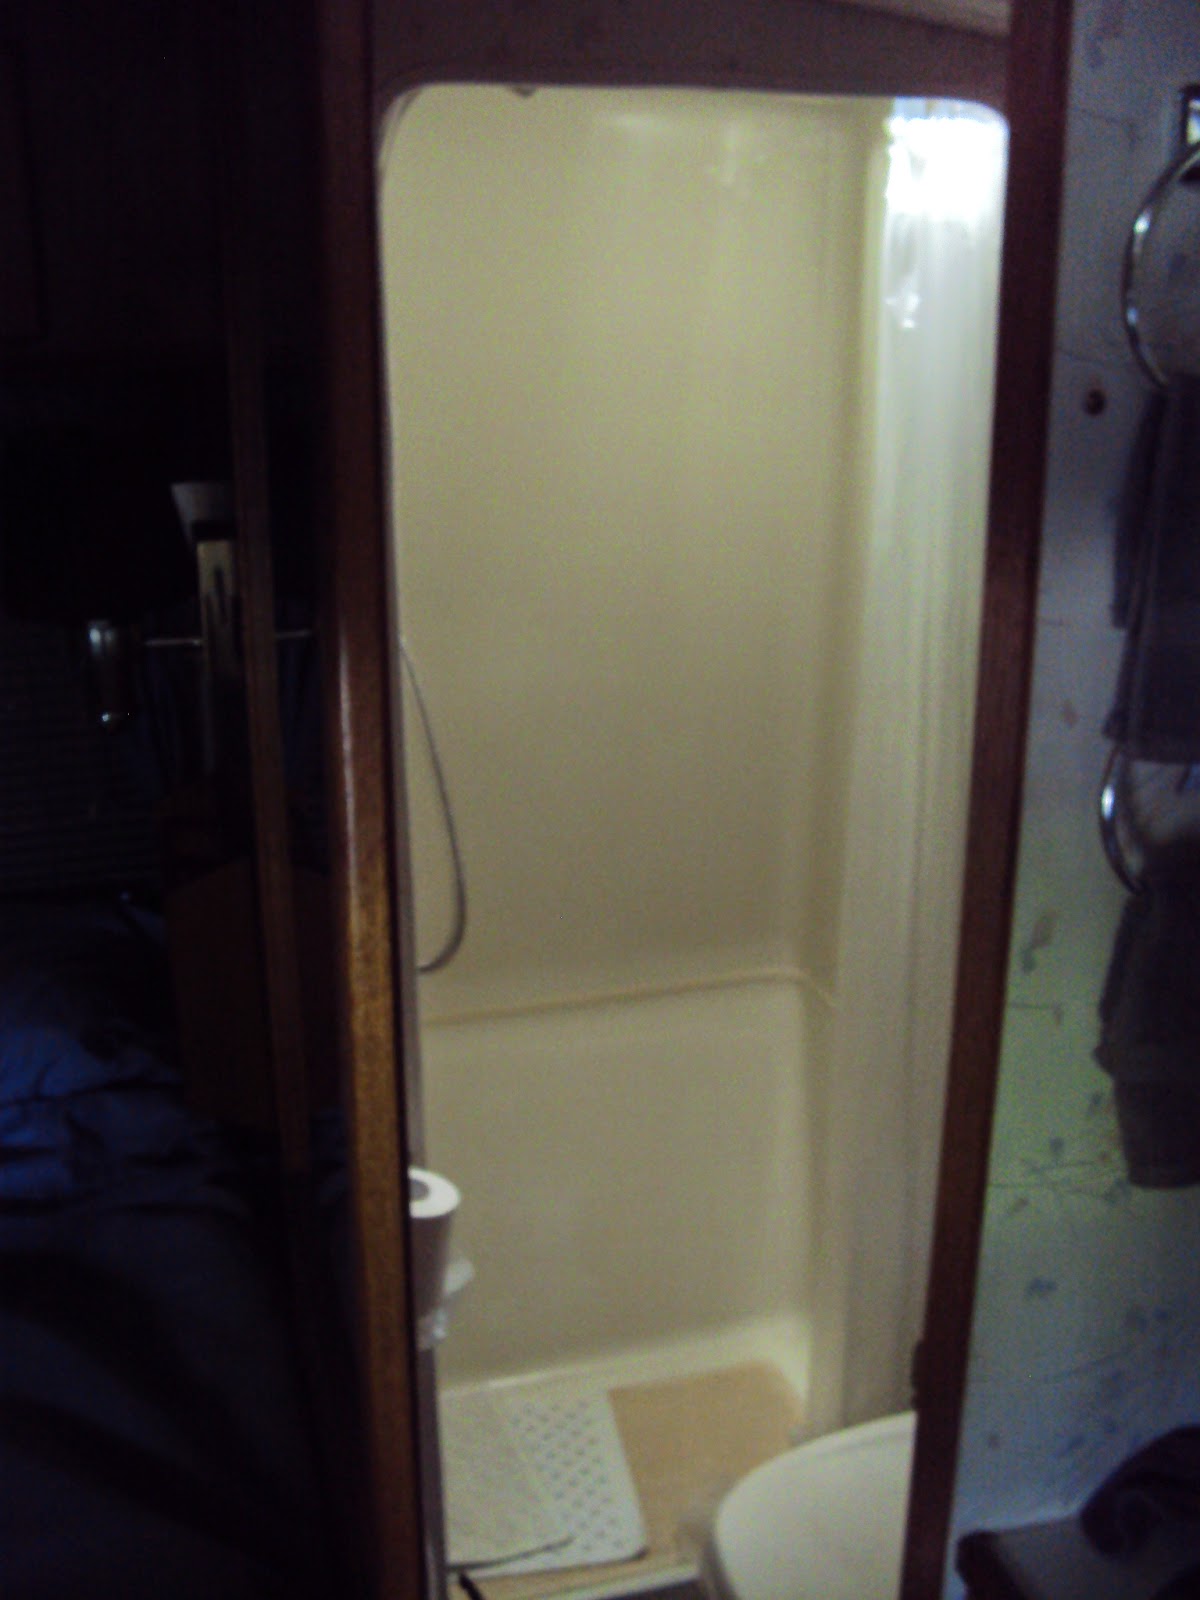
As the sunlight began to wane, we returned to the RV. Took some nice hot showers and then relaxed in front of the windows. The wind was picking up and there was rain being forecast by my
Weather Station. It got VERY dark, very quickly. Not a problem, we were safe, sound and comfortable inside.
As the light grew ever dimmer, on came the LED lighting. I like
my LEDs in the warm (3200K) version that replicates a nice old style incandescent bulb. Which in turn was supposed to replicate pleasant gas light or candle light. Then the rain began. Gently at first, then stronger. We never saw much of the heavy rain, since it got incredibly dark! No light around. Probably be a great place t stargaze!

A little bit of dinner planning was next. Since the view of the rain and weather was so nice, we decided on a simple multiple cheese and crackers plate. Extra Sharp VERMONT Cheddar (of course!), Swiss, Monterey Jack with Jalapenos and a little bit of Brie. we had several types of crackers; Water Crackers (My favorite) Ritz, Stoned Wheat (OK no jokes about pot smoking wheat plants!) and some plain old saltines for variety. I also sliced a fresh tomato and we had some fresh fruit on the side. Delicious.
 |
| Being An Invention Mom |
Now for the Drama. What goes with a varietal cheese plate with fruit? Wine of course! As some of you know, I recently
reviewed a nifty portable corkscrew that I could easily store in my small utensil drawer. It worked great! So I removed the old bulky one from the drawer, Trouble was, I never put the new one in! Here we are, in the middle of nowhere with a bottle of nice Italian table wine (Valpolicella) with no way to get it open! Yes, I suppose I could have broken the bottle on a rock, bit that's so messy! Necessity is the mother of invention, so after some deep thought I came up with a brilliant plan (OK so maybe not brilliant, but workable!) I found two large thick-threaded screws and screwed them into the cork right next to each other. Once they were snug, I placed a long needle nosed pliers under the screw heads and slowly lifted one side then the other. It WORKED. The cork slowly came out most of the way. A final tug with a trusty pair of locking pliers finished the job. Every RV trip is an adventure.
The following day was overcast and cool, I even ran the furnace for a a short while to get the chill off. When I awoke, I put on a
pot of coffee (percolator style!) and turned on the water heater. If you make coffee, drink it and clean up...you'll have plenty of hot water! The timing just works out. After showers, I made one of my monster
single skillet breakfast meals. Eggs, Hash brown potatoes, peppers, onions, ham and cheese. That will provide lots of energy for the day! Left around 2PM for the 3 Hour ride home.
I do believe this locale will become one of my regular "getaway and recharge" spots. It meets all the criteria. No planning needed, under 4 hours travel time, quiet and remote. An easy 2 or 3 day trip. No drama...well unless you include the wine debacle!
Be Seeing You...Down The Road,
Rich "
The Wanderman"
www.thewanderman.com


 There is this cool company called OXO, they make any number of home gadgets. Every once in a while I find one at a liquidator store or at a deep discount. This was one of those times. This little beauty will let you measure liquids and solids from 0 to 1/8 of a cup. It consists of a clear polycarbonate measuring space with clearly marked red lines and numbers, A plastic base with a silicone rubber stopper. When assembled these work together to allow you to measure whatever you like. Once you preset the measurement by twisting the base until the bottom lines up with the amount, simply fill the space and you're done!
 The pieces disassemble easily for cleaning and went back together with a simple twist. So often I find gadgets that are more trouble to use than the work they are supposed to alleviate!! This one I like. The coolest thing it can do? Measure semi solid ingredients. Things like butter, shortening, brown sugar, etc. Simply pack the space with the ingredient and then level off the top. I use a butter knife, but any flat item will do. Once you have the right amount, push the base into the measuring space and it will drop its; contents into your work bowl. Way cool! And really less of a mess.