Wednesday, July 30, 2014

Even The Simple Things - Indirect Read Thermometer

    Temperature, so many things rely on the accurate measurement of it. Cooking, mechanical repairs, creature comforts, safety inspections....the list could possibly be endless. Also endless are the myriad ways you can find out what a temperature is. In my RV I have no less than 13 temperature gauges! Start with the ones on the dash. There's one for Oil, Water/Coolant, and Transmission. Then I have a weather station that reads inside and outside temperatures. Another, smaller one does the same thing, but is in another location. My Solar Charging system reads the temperatures of my batteries. The refrigerator and freezer have their own as well. And mounted on my range hood is a magnetic stick-on LCD one. And lastly I have 2 probe type versions that I use when cooking and BBQ-ing outside.Let's not forget the many temperature sensors that don't have readouts...like your water heater automatic shutoff. Well, there's an incredibly handy type of thermometer that I now have..one of those things you wonder how you lived without? That makes 14!

The new one really does something unique. It allows you to see what the temperature of any surface is without actually touching it! It's a pretty amazing party trick that is really useful around an RV. How's it work? "Simple" really:


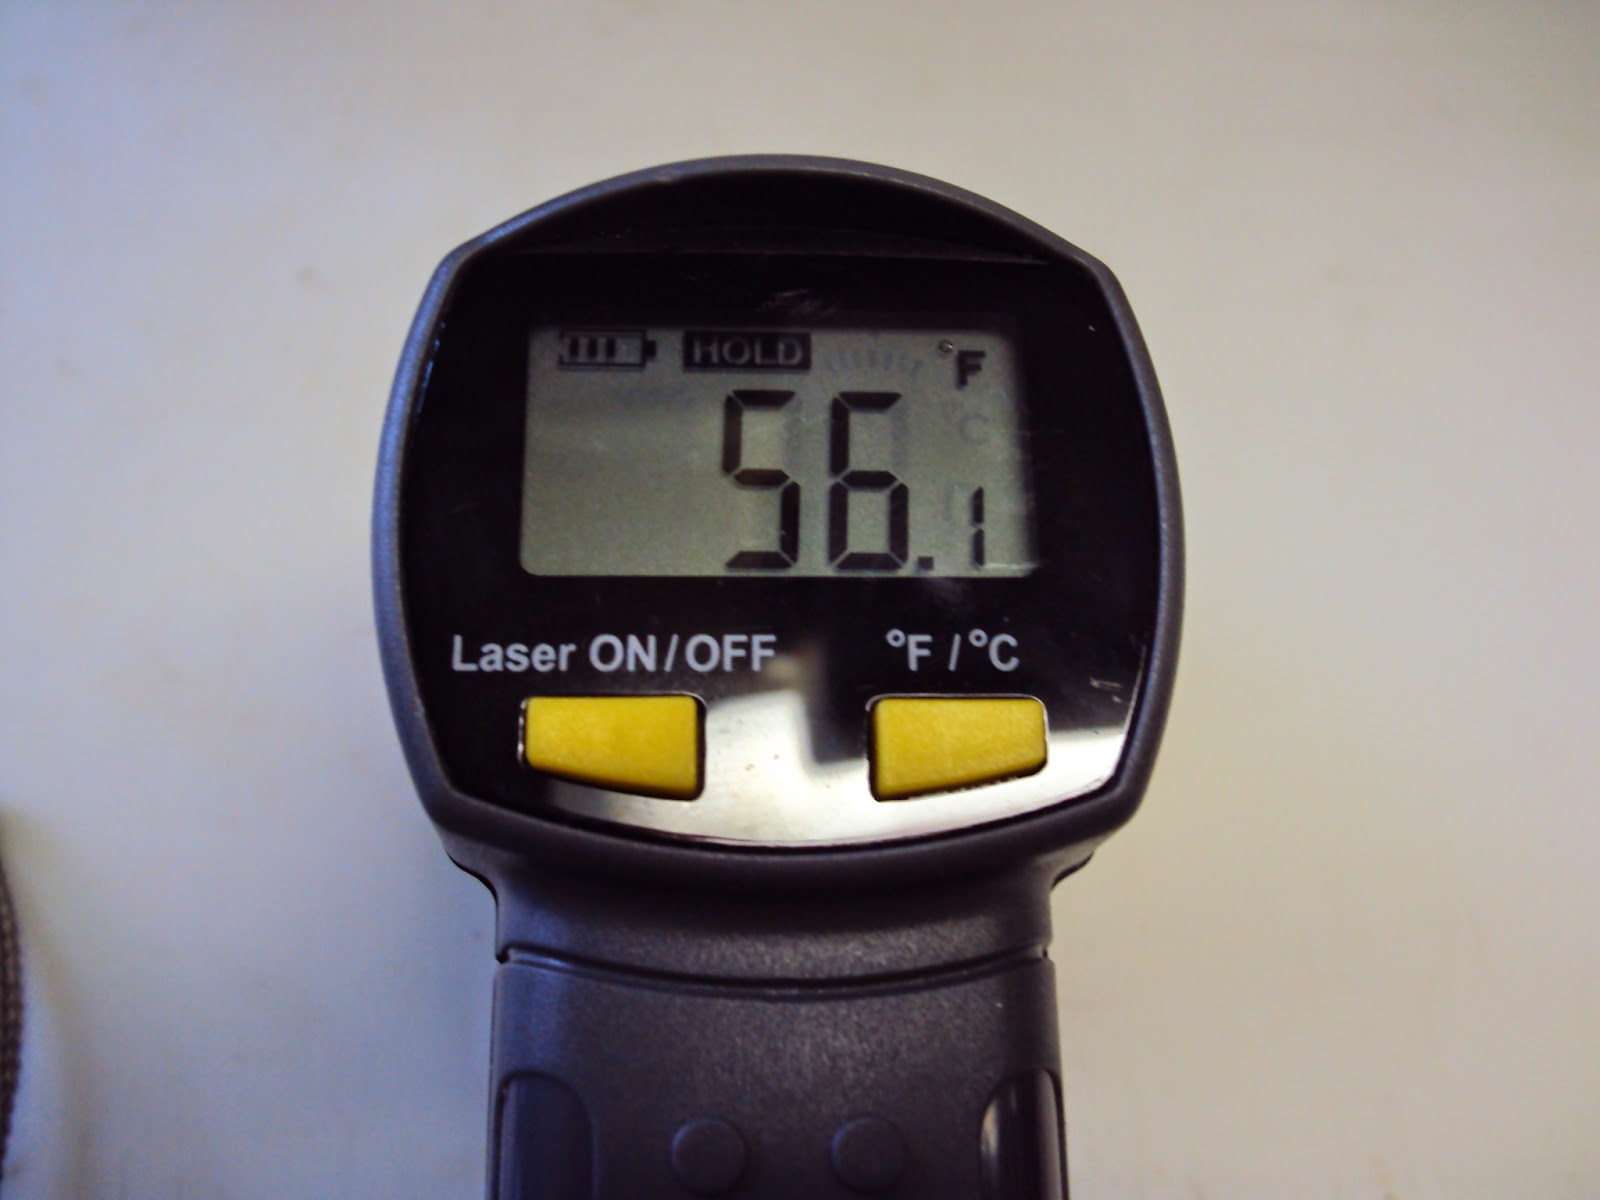
        "An infrared thermometer is a laser thermometer which infers temperature from a portion of the thermal radiation sometimes called blackbody radiation emitted by the object being measured."

Yeah..that's simple. Better explanation? Every object emits some kind of heat. This device gathers that heat into a detector and then reads out the temperature in degrees on the back of the unit. It also has a handy laser pointer to aim the unit properly. So this is all well and good, but what can you USE them for? How about cooking? Ever see a recipe that calls for a temperature in a pan? Or something like "reduce the oil temperature to 350 degrees." Simply point the device at the oil in the pan, pull the trigger and read the actual temperature! You won't even have to clean it since it never touches anything.

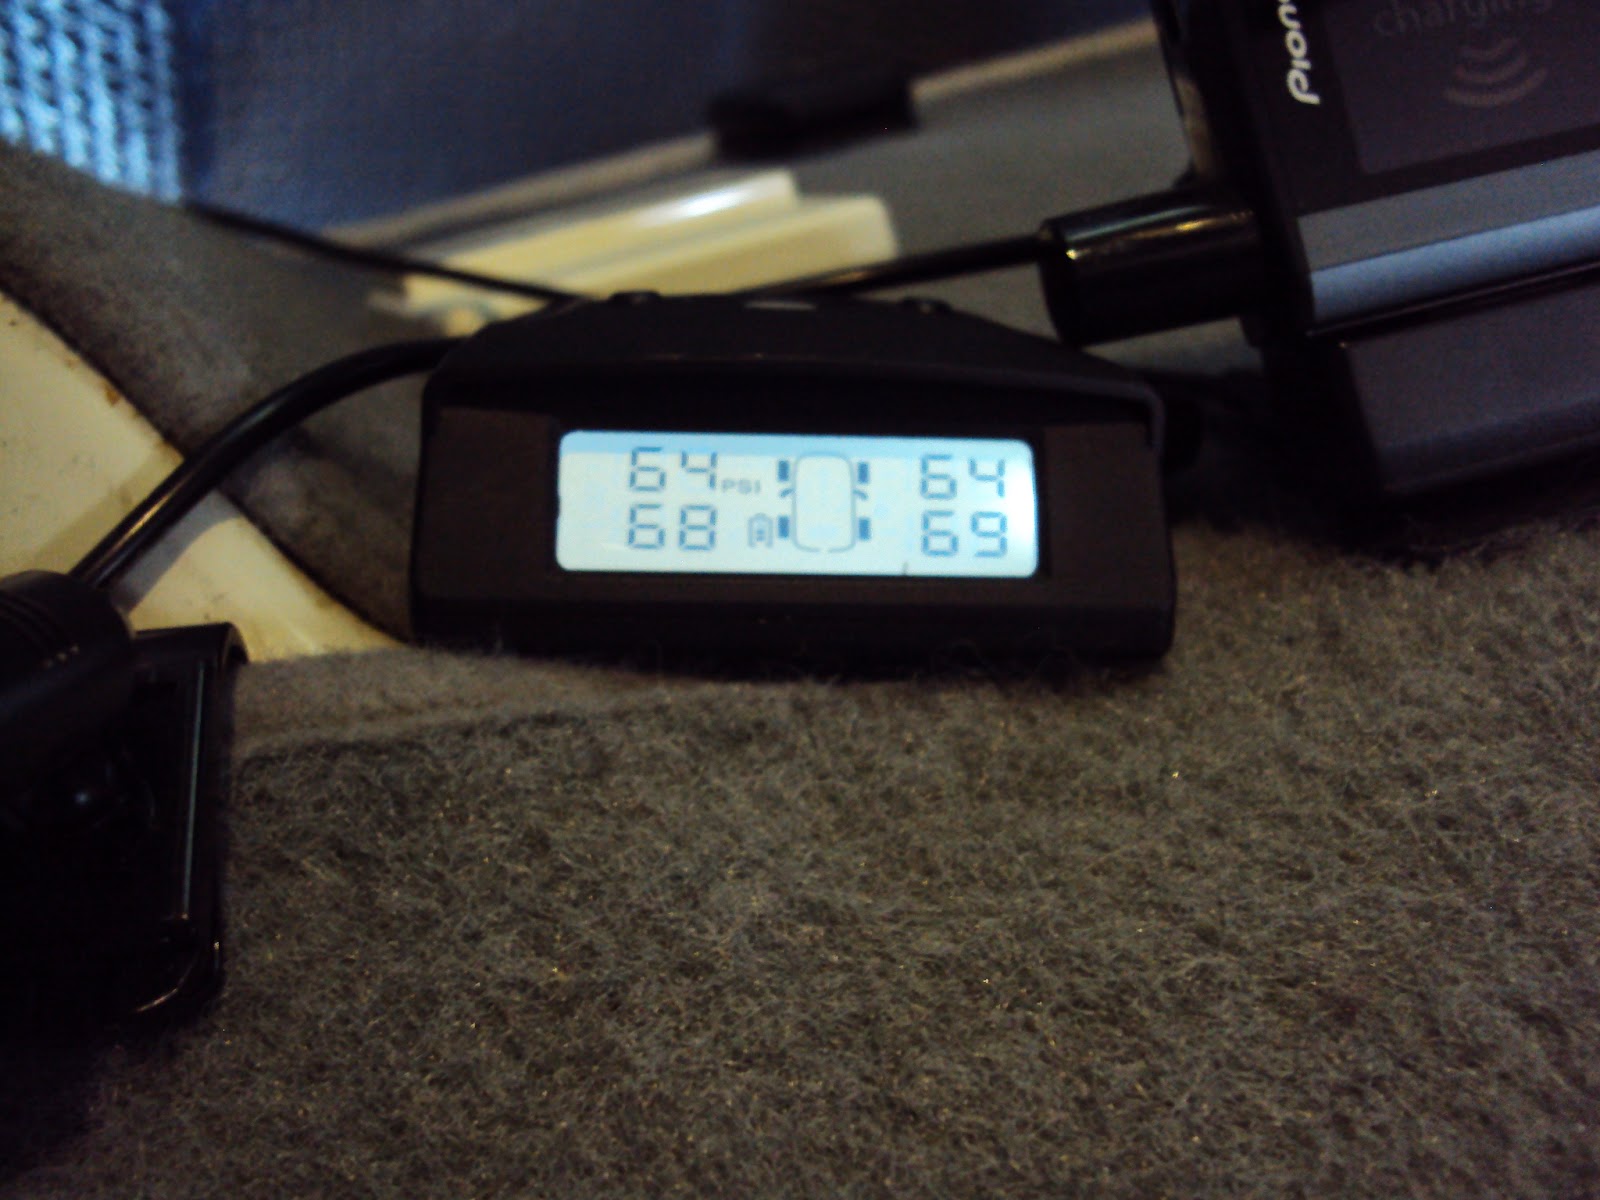
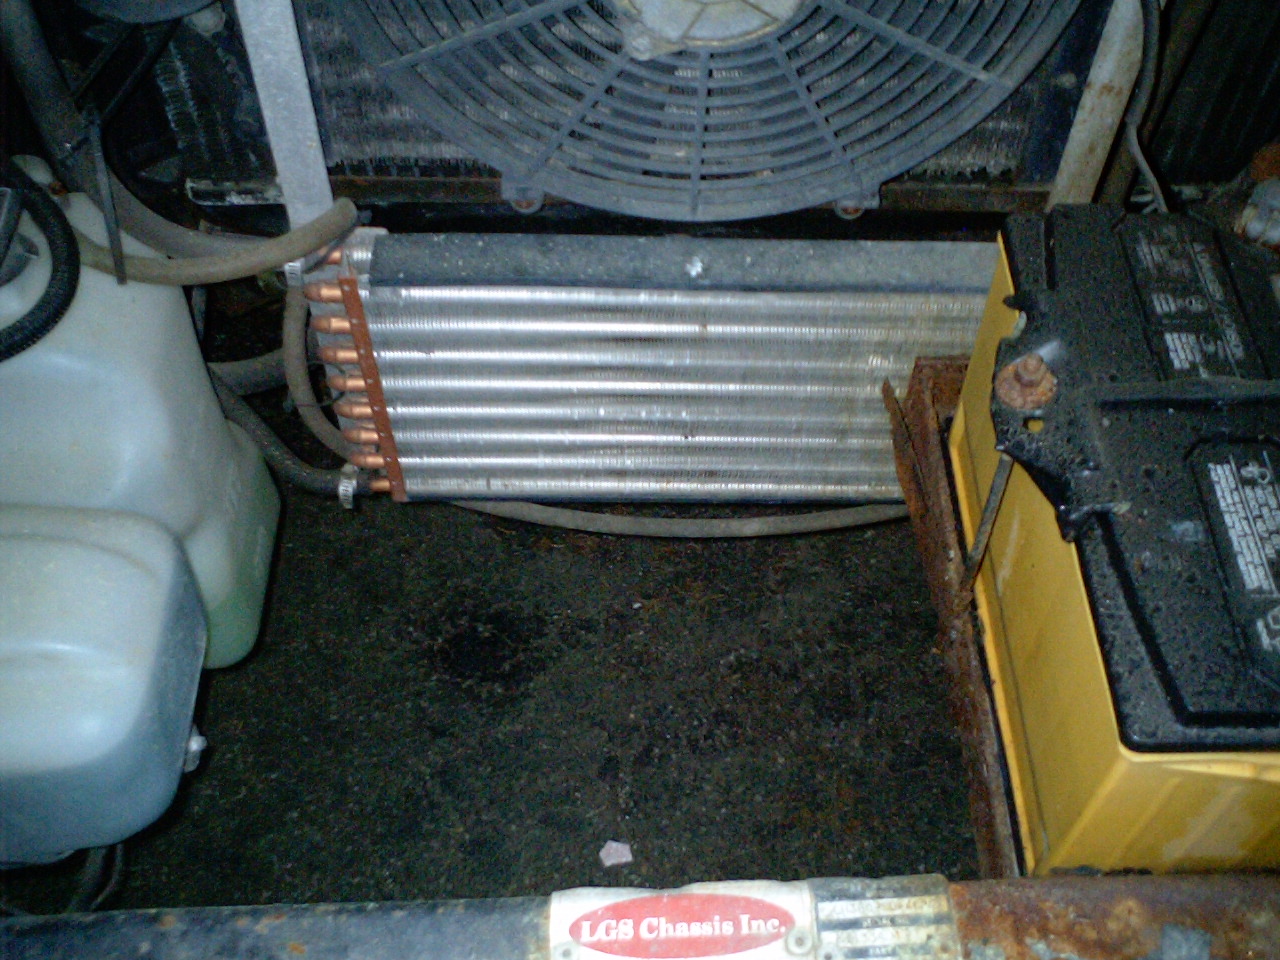
How about diagnosing overheating issues? Point the device at various thing in the engine compartment. Like radiator hoses, thermostats, the block, the AC compressor, the radiator, the transmission oil cooler, even the transmission! Check the air temps coming out of your air conditioner! Verify that your furnace thermostat works. Figure out just how warm it gets in your RV! I use it to check and verify Tire temps before and after a trip. Takes about a minute for all of them and could save you a ton of hurt. I check my Solar Panel temps to make sure they are not overheating in direct sun. I use it to check my generator operating temps. Heck, you can even use it to check if you have a fever!

I'm always amazed at how much of the world around us revolves around the temperature of things. With this nifty gizmo, you can have a window into those workings without getting your hands dirty, so to speak. I've really only touched on the usefulness of this product. There are so many more things you could do....check for overheating wires in your electrical system for instance.... I'll wager you've thought of quite a few more while reading this article. The remote read thermometers are available all over the place and range from about $20 to well over $100. Mine was $25 online. I wanted the biggest temperature range I could find. More uses that way!

Be Seeing You...Down The Road,

Rich "The Wanderman"
www.thewanderman.com


Wednesday, July 23, 2014

Even The Simple Things - Tire Pressure Gauge

My TPMS Readout On The dash
    It's really important to make sure your tires are inflated properly! My RV has only 4 tires, so it's ESPECIALLY important. If I lose one, it would be catastrophic. A while back I replaced all four of my tires since they had gone well past the manufacturer's expiration date. They likely would have been fine for a while longer. Exhibited no dry rot or cracking and had plenty of tread depth left. Nope. Better safe than sorry. Before every trip, I check my tire pressures. Even though I have a TPMS (Tire Pressure Monitoring System) it pays to be sure everything is OK. Last week I found out that my traditional mechanical gauge was WAY off...so I went to find a digital replacement.

Cheap, But It Works!
Oh My! There are so many to choose from! I went to the local Wally world and a couple of automotive parts places. Each one had at least a dozen different types, mostly digital with a few analog/mechanical versions thrown in. There was the "traditional" slide style. This is the kind that the pressure is read from a sliding plastic piece that extends from the end of the gauge when you apply it to the tire valve. I had one of these that read up to 120 PSI, but was wildly inaccurate. They are inexpensive at $4 apiece. I guess you get what you pay for! The digital models ranged in price from about $6 all the way up to $29.99. As usual, I figured I'd start at the low end and bought the least expensive (cheapest!) one they had.

It is a simple plastic tapered oval that has an LCD (unlit) display and a single button on the face. Press and hold the button to turn on the unit. Once on, it will set itself to zero and it's ready to use. If you then press the button, it will switch from PSI to BAR and even kP (KiloPascal) readings. Leave it alone and it will shut off after a while. Since I'm in the United States, I'll stick with PSI, thank you very much! On the back is a fitting that will fit over the tire valve. It's at a 45-degree angle so it will be easier to read and use. I didn't have any issues with it at all; however, it looks like it MAY crack or split where the plastic is thinnest. Won't look very nice, but will likely still function.

Look, It's My Thumb
I have a TPMS (Tire Pressure Monitoring System) I've tested with a few pressure sensors and have found out it's accurate to within +- 1 PSI or so. My front tires are inflated to 65 PSI and my rear tires to 70 PSI (best compromise for handling, ride comfort and tire longevity on my RV). My old slide-style gauge was WAY off: it said the front tires were at 75 PSI and the rears at 80 PSI! Obviously that would never do. The new digital gauge was reading 64.5 PSI for the fronts and 69.5 PSI for the rears. Close enough! The digital gauge does require battery replacement, but I'll wager it lasts a long time. I'll let you know just how long.

I've seen some pretty nasty disasters related to improper tire inflation. It's REALLY cheap insurance to check your pressures before each trip. I do, even though I have a TPMS...you know, belt AND suspenders approach.

Be Seeing You...Down The Road,

Rich "The Wanderman"
www.thewanderman.com


Wednesday, July 16, 2014

I Want My RVTV! - Installing A 12V TV Amplifier

    Finally! I got around to installing a +25dB TV antenna amplifier. I've had it for well over a year, and simply haven't gotten around to it. Been watching digital media from a USB drive mostly or some DVDs I still use. Now that HD signals are OTA (Over The Air) which means free...I figured I should try and get them on screen. I've already got a "Boomerang" antenna and there used to be an amplifier installed long ago...before I owned the RV, I also have a digital TV receiver box. Make sure you have one! Or your TV receives digital channels. So how hard could it be to put a new one in?


I've been putting it off mainly because I didn't want to remove the LCD Monitor I use as a TV display. It's been rattle free...so I've been procrastinating! Well...not anymore! With the proliferation of HD OTA signals floating around, I should be able to receive SOMETHING in many of the places I visit. Without some type of amplifier I had to be almost on top of the antenna to get any picture at all. Unlike old style Analog TV signals, Digital is an "all or nothing" affair. Either you have a nice picture or no picture at all! So I did some research and found a nice 25dB amplifier online for around $20.00. It's small, runs on 12 Volts and can be mounted almost anyplace.

So, here we go! Since I have A LOT of space behind my flat screen LCD monitor (the old CRT Tube-type TV took up MUCH more space, I try and install anything I don't have to get to easily behind it. (Of course, eventually I'll be adding some kind of hinge and latch assembly so it can actually be USED for additional storage.) First, figure out where you want to put the amplifier. It's best to find out where the antenna coax cable ends and locate it pretty close by. Make sure it will be easy to find 12 Volt power nearby as well. This may not be possible with your setup, so you may need to run power and/or coax cable around.

Disconnect your NON-POWERED antenna lead from your receiver or switch-box and connect it to the amplifier's IN terminal. Then run a new cable from the OUT terminal back to where you removed the original antenna cable. Sounds complicated, but really isn't. You may already have a power switch for an amplifier installed, if not....buy one! You should NOT leave this connected 24/7 as it will be a drain on your batteries. Connect the ground wire to ground (DUH!) and then run the power lead from the amplifier to the switch. You can use crimp-on terminals or you could solder it on.


The Switch And Amp Connected For TESTING!
If your wiring will NOT be accessible when you are done it is ESSENTIAL you have a solid connection because I will guarantee that once you close everything up and drive down the road, it will begin to disconnect itself. Now take the other terminal on the switch and connect it to your 12 Volt power source. This device uses very little current, so almost any "hot" 12 volt lead will work.  In my install, I located the leads and the box very close to the switch, so I wouldn't use too much wire. I had lots of coax antenna cable around, so I used that to get the signal to the digital TV receiver.

My switch was also internally lit, so it required a little bit more wiring so it would actually LIGHT up when it was on. This way I don;t forget to turn it off when I'm done using it. (Don't ask...)

Then affix the amplifier to a convenient spot using two small screws. I used self tapping wood screws as it was the easiest. The amplifier is only a few ounces, so they will be more than strong enough, even with all the road vibrations.

I cannot stress this enough:


TEST THE INSTALLATION BEFORE YOU CLOSE EVERYTHING UP!!! 

I ended up re-opening everything, because I forgot to tighten the coax connections and tape the connections.

Results? Not too bad. In the location that I am parked, I was getting ZERO channels with my digital TV receiver. Now I have four. Hey, it's better than none, right? I imagine if the RV was turned (the antenna is FIXED in place), I could get more. Hmmm...How about figuring out a way to be able to rotate the antenna?? Maybe in a year or two!

The picture looks really nice in HD coming from the digital receiver. I have the audio going through the stereo system. Sounds great and uses very little power.

If you have an antenna and it ISN'T connected to a powered amplifier, this is a really nice retrofit. Don't be scared of the lengthy instructions. It was very simple. if you have access to the wiring without taking your RV apart, it will go much faster.

Be Seeing You...Down The Road,

Rich "The Wanderman"
www.thewanderman.com

Wednesday, July 9, 2014

When LEDs Die - How To Diagnose Bad Bulbs

    I am a HUGE fan of LED lighting. If you choose the right bulbs (I prefer Warm White) you can substantially reduce your energy use. If you boondock a lot, like me, this is a blessing. Use less power...stay longer without using your generator. If you have Solar Charging, you can design a system that will allow you to stay indefinitely. Well, as long as your water and black tanks hold out! I had replaced all my incandescent light bulbs a couple of years ago, the other day I noticed that the one in the bathroom dual fixture was not turning on reliably. Hmmm, now what?

Failed LED Light Array
First, open the fixture. The one I have simply has a plastic translucent cover over the bulbs. Squeeze it a bit at the edge and it pops out quite easily. Since the light needed to go all in one direction, I chose the LED bulb style that has 42 LEDs facing the same direction mounted on a plate. Wires run from the plate to a bulb base that replaces your existing bulb. You then peel the sticky tape on the back of the plate and adhere it to the fixture. Tuck the wires out of the way (I used a piece of Gaffer's tape to stick it to the reflector) and you're all set. Of course, test the light placement first! (Don't ask how I know...)


LED Array Light With Circuit Board Transformer
I turned the light on (of course it worked fine now!) then wiggled the socket a bit. It turned off and on! AHA!! found you! I removed the bulb base piece, cleaned the socket with some sand paper and re-inserted the base. Still intermittent...hmmm...Why? It then occurred to me that the tape had let go and the LED array (the thing on the plate) was just wedged between the reflector and  and the bulb cover. When I opened the fixture it fell out, tugging on the two VERY small gauge wires. When I played with the wires a bit, the light turned on. AHA, Again! I would just remove the base completely and wire it directly into the socket. Bad move. Once I cut the base off and then stripped and connected the wires, the light looked "wrong" it was much brighter and had an odd color. It also heated up FAST! Soon a bunch of the LEDs were flickering and going out. I shut it off immediately, but the damage had been done.

I've managed to cook a 20 dollar light bulb, "Oh Goody."

Look! NOW They Have A Warning!!
I have no one to blame but myself. "Haste makes Waste!" Nothing said could be truer. If I had bothered to look IN the base, I would have noticed that under the epoxy filler, there is a tiny circuit board. This device regulates the amount of power going to the LEDs. Without it, whatever comes out of your RV 12V power system goes into the bulb. My batteries were charging, to almost 15V scorched through the LEDs and caused them to overheat and fail. I probably could have simply removed the epoxy and re-soldered the wires and all would have been well. Live and Learn. I have a replacement coming from the dealer. It's an exact match...I hope. I also ordered some cheap ones that are similar off e-bay. Just in case! All of them say they can run on 8-30 volts. Perfect for RV use. Of course, if you hit 30 volts on a 12 volt RV system you have other issues! (FYI: The 30 volts is typically used on a 24 Volt system)


After receiving the replacement, I re-installed it using the basic idea. The new one has the peel and stick tape on the back, PLUS 4 pads of 3M VHB backed velcro. Obviously, I am NOT the only one that had heat related sticking problems! There is also now a warning on the bag telling you NOT to wire it directly. Sure, NOW they tell me! I also noticed the wires are slightly heavier duty. Hey, being an early adopter has its' downsides. No worries, all fixed now AND I've learned an important lesson (Again!) Look before you leap. Observe, Analyze, THEN Act!)

Moral of the story? Just because something appears to be broken one way....it may be broken in another. LEDs are fantastic additions to the RV universe. They work very well most times. Just like anything else....you've got to know its (and your) limitations!

Be Seeing You...Down The Road,
Rich "The Wanderman"
www.thewanderman.com

Thursday, July 3, 2014

Ditch The Dongle! - Easier Internet Access On The Road

    A few years ago I had to figure out how to have reasonable internet access speeds while traveling on the road. I mean...I HAD to make sure I could write these articles no matter where I was! At that point the best bet was a USB "dongle" from Sprint with a portable router that was compatible with it. That gave me 4G speeds for every device within the tiny router's range. But the router was power hungry and need recharging quite often.That limited the amount of use pretty dramatically.

Now...there is a better way.

The "Dongle"
I used to have a Sprint data plan only. This just meant I had no voice calling and for the USB dongle I didn't have the ability to use it anyway. The best part about it? It was unlimited. No caps on data at all. It was an "all you can eat" plan, grandfathered in from a few years ago. Mainly I did this since my Verizon phone, at the time, wasn't capable of being a "hotspot" for WiFi. What's all that mean? Simply, I couldn't use my phone as a router so that all my devices that needed internet access could get online at the same time. I could "tether" the phone via USB to a laptop, but that didn't work with my ultra-lite android based tablet/netbook from Asus. When I finally was forced into getting a new phone. (Yes, I had a Motorola StarTac forever! Sue me...it worked GREAT!) The new phone had WiFi hotspot capability AND a great data plan. So I could ditch 2 pieces of equipment (one that required frequent charging!)  for just my phone!

The "Dongle" Connected To The Router
Be aware, if you have a phone with a limited data plan, it is very easy to go above those limits when using it for internet access. Take a look at your plan and figure out how much you use on a regular, monthly basis. Usually, you can set your phone to alert you when you get to a set amount...so you don't go over.

I haven't tried using the phone...as a phone...when accessing the internet. So I am unsure whether that will work. It's rare I have to be on the phone AND go online at the same time, so it may not come up at all. The downside? Well, I used to have the Sprint dongle and a Verizon phone so I had two different networks to choose from. Sometimes one will work when the other doesn't. Now I am down to one network. Depending where you travel, this may or may not be an issue at all. I tend to be "off the beaten path" so good signal can be hard to come by.

As always...Your Mileage May Vary (YMMV) so test it out for yourself before taking the plunge. What works for me..MAY NOT work for you. Probably will be fine, but Who Knows?

Be Seeing You...Down The Road,

Rich "The Wanderman"
www.thewanderman.com